Flashing your BeagleBone Black eMMC with Debian
As many of you may know I am writing an introductory book on Linux and Programming. I have already posted some sample chapters. Yet, as a TA and Software Engineer I am frequently asked a question regarding the BeagleBone Black. The BBB won’t be a part of my book but I thought I would post my answer anyway.
One of a the recurring problems I have with the Beaglebone Black and one I am frequently questioned about is “How to flash the Beaglebone Black eMMC?”. Honestly, is not that hard. Sadly many online tutorials just get it wrong. They either describe the procedure intended for the older BeagleBone or for an older operating systems. I will describe the procedure in clear unambiguous steps. What it essentially boils down to is that the latest version of Debian needs to be slightly adjusted to turn it into a flasher image. This critical step is often overlooked. So, lets get started.
1. Download Debian
From the BeagleBoard website you need to download the latest image. Under the section Recommended Debian Images click to download a version of Debian for the Beaglebone Black that is recent. As of May 2016, that was Debian 8.4 Jessie. I didn’t use Debian 7.9. While you are downloading this image to your Desktop note the little section at the end of the paragraph describing how the /boot/uEnv.txt needs to be adjusted. This section is vital to understand.
2. Flash your Debian image to the SD-card
For this section you will need an 8Gb SD-card, that is preferably class 10. Download Win32 Disk Imager from SourceForge. This program allows you to create the SD-card flasher. Install the program and then start it up. Make sure your Debian image is unzipped. With Win32 Disk Imager select the image and set the destination to the SD-card (E:/ drive) after you have placed the card in the card reader. Afterwards click on Write. Your SD-card should be ready in a few minutes.
Chances are you made it this far on your own. Most of the older tutorials describe the preceding steps roughly similar. What come next is NEW and vital.
3. Turn your image into a flash image
The image on your SD-card won’t flash your Beaglebone Black (BBB) out of the box. It needs to be adjusted. You will need to change the uEnv.txt file. You may have seen such a file when you placed your SD-card into the reader and a pop-up showed you its contents. Yet, this is NOT the correct file. Do not adjust it, there is NO point. Instead place the SD-card into your BBB and startup it up without holding any of the buttons such as S2. We are going to change uEnv.txt from inside Debian itself. Give your BBB about a minute to fully start. In the next step you need to assign an IP-address to your BBB. This is easy to do in Linux, such as Ubuntu. First we need to recognize the correct device. With the command ifconfig you should see 3 devices connected. Choose the second and with dhclient + device name we assign an IP address. For the BBB this becomes 192.168.7.2 but only after we have used the dhclient command.
Now we can use SSH to connect to our BeagleBone Black. Then change directory (cd) to the /boot/ folder and use any available text editor, such as vi, to change the last line of uEnv.txt. Remove the comment character ‘#’ before the line ‘cmdline=init=/opt/scripts/tools/eMMC/init-eMMC-flasher-v3.sh’. Afterwards save and exit with :wq. Our Debian image on the SD-card can now flash the eMMC. Shutdown the BBB.
4. Flash your BBB eMMC
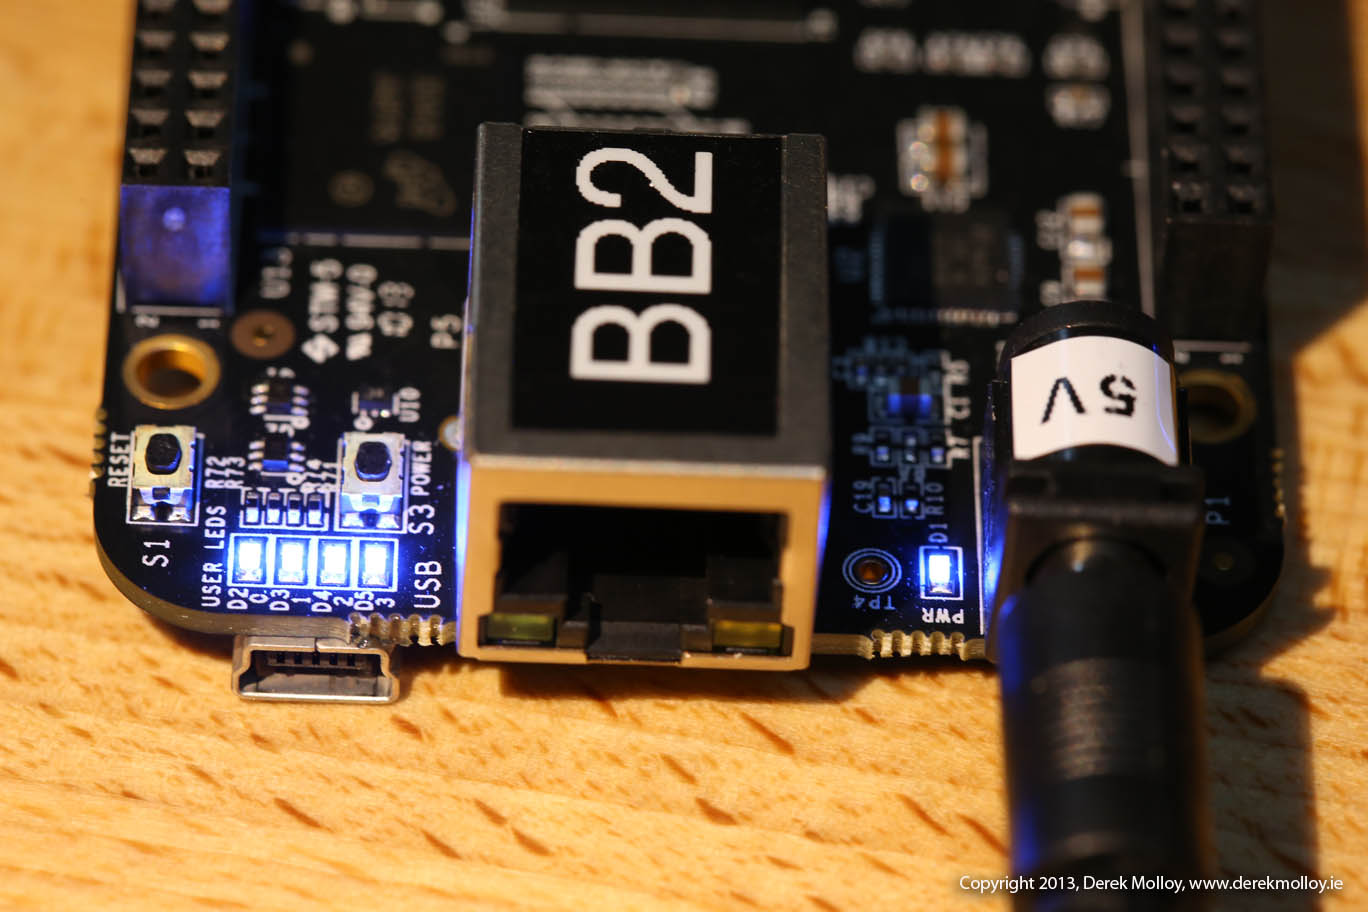
The next step is again critical. make sure your SD-card remains in the BBB. While holding down the S2 button apply power to your BBB. As soon as ANY of the LEDs turn on let go of the S2 button. After a short while of random LED blinking they should start to turn on and off in sequence. Essentially what you see is like the Knight Rider or Cylon from BSG blinking from left to right. Your BBB eMMC is now being flashed. DO NOT interrupt it. After about 20 to 25 minutes it should have completed and all four LEDs turn on. The procedure is now complete. Remove the power from the BBB, remove the SD-card because we don’t want to flash yet again. Then re-apply power without holding any button. The BeagleBone Black should now be ready for use.
If you’re still having trouble flashing your BeagleBone Black then head over to Derek Molloy’s website. His comment section is alive and active. This was my short tutorial on Flashing your BeagleBone Black eMMC with Debian. I hope this will have solved any problem a newbie BBB user might have had.
PS, my introductory book is almost finished. I am now going through it a second time, improving sections, adding pictures etcetera. The tentative release schedule is late June 2016!


More Stories
A Happy New Year from SciFiEmpire
Wishing You A Happy Christmas, From SciFiEmpire.net
Things To Look Forward To in 2022