AIY Google Vision Kit
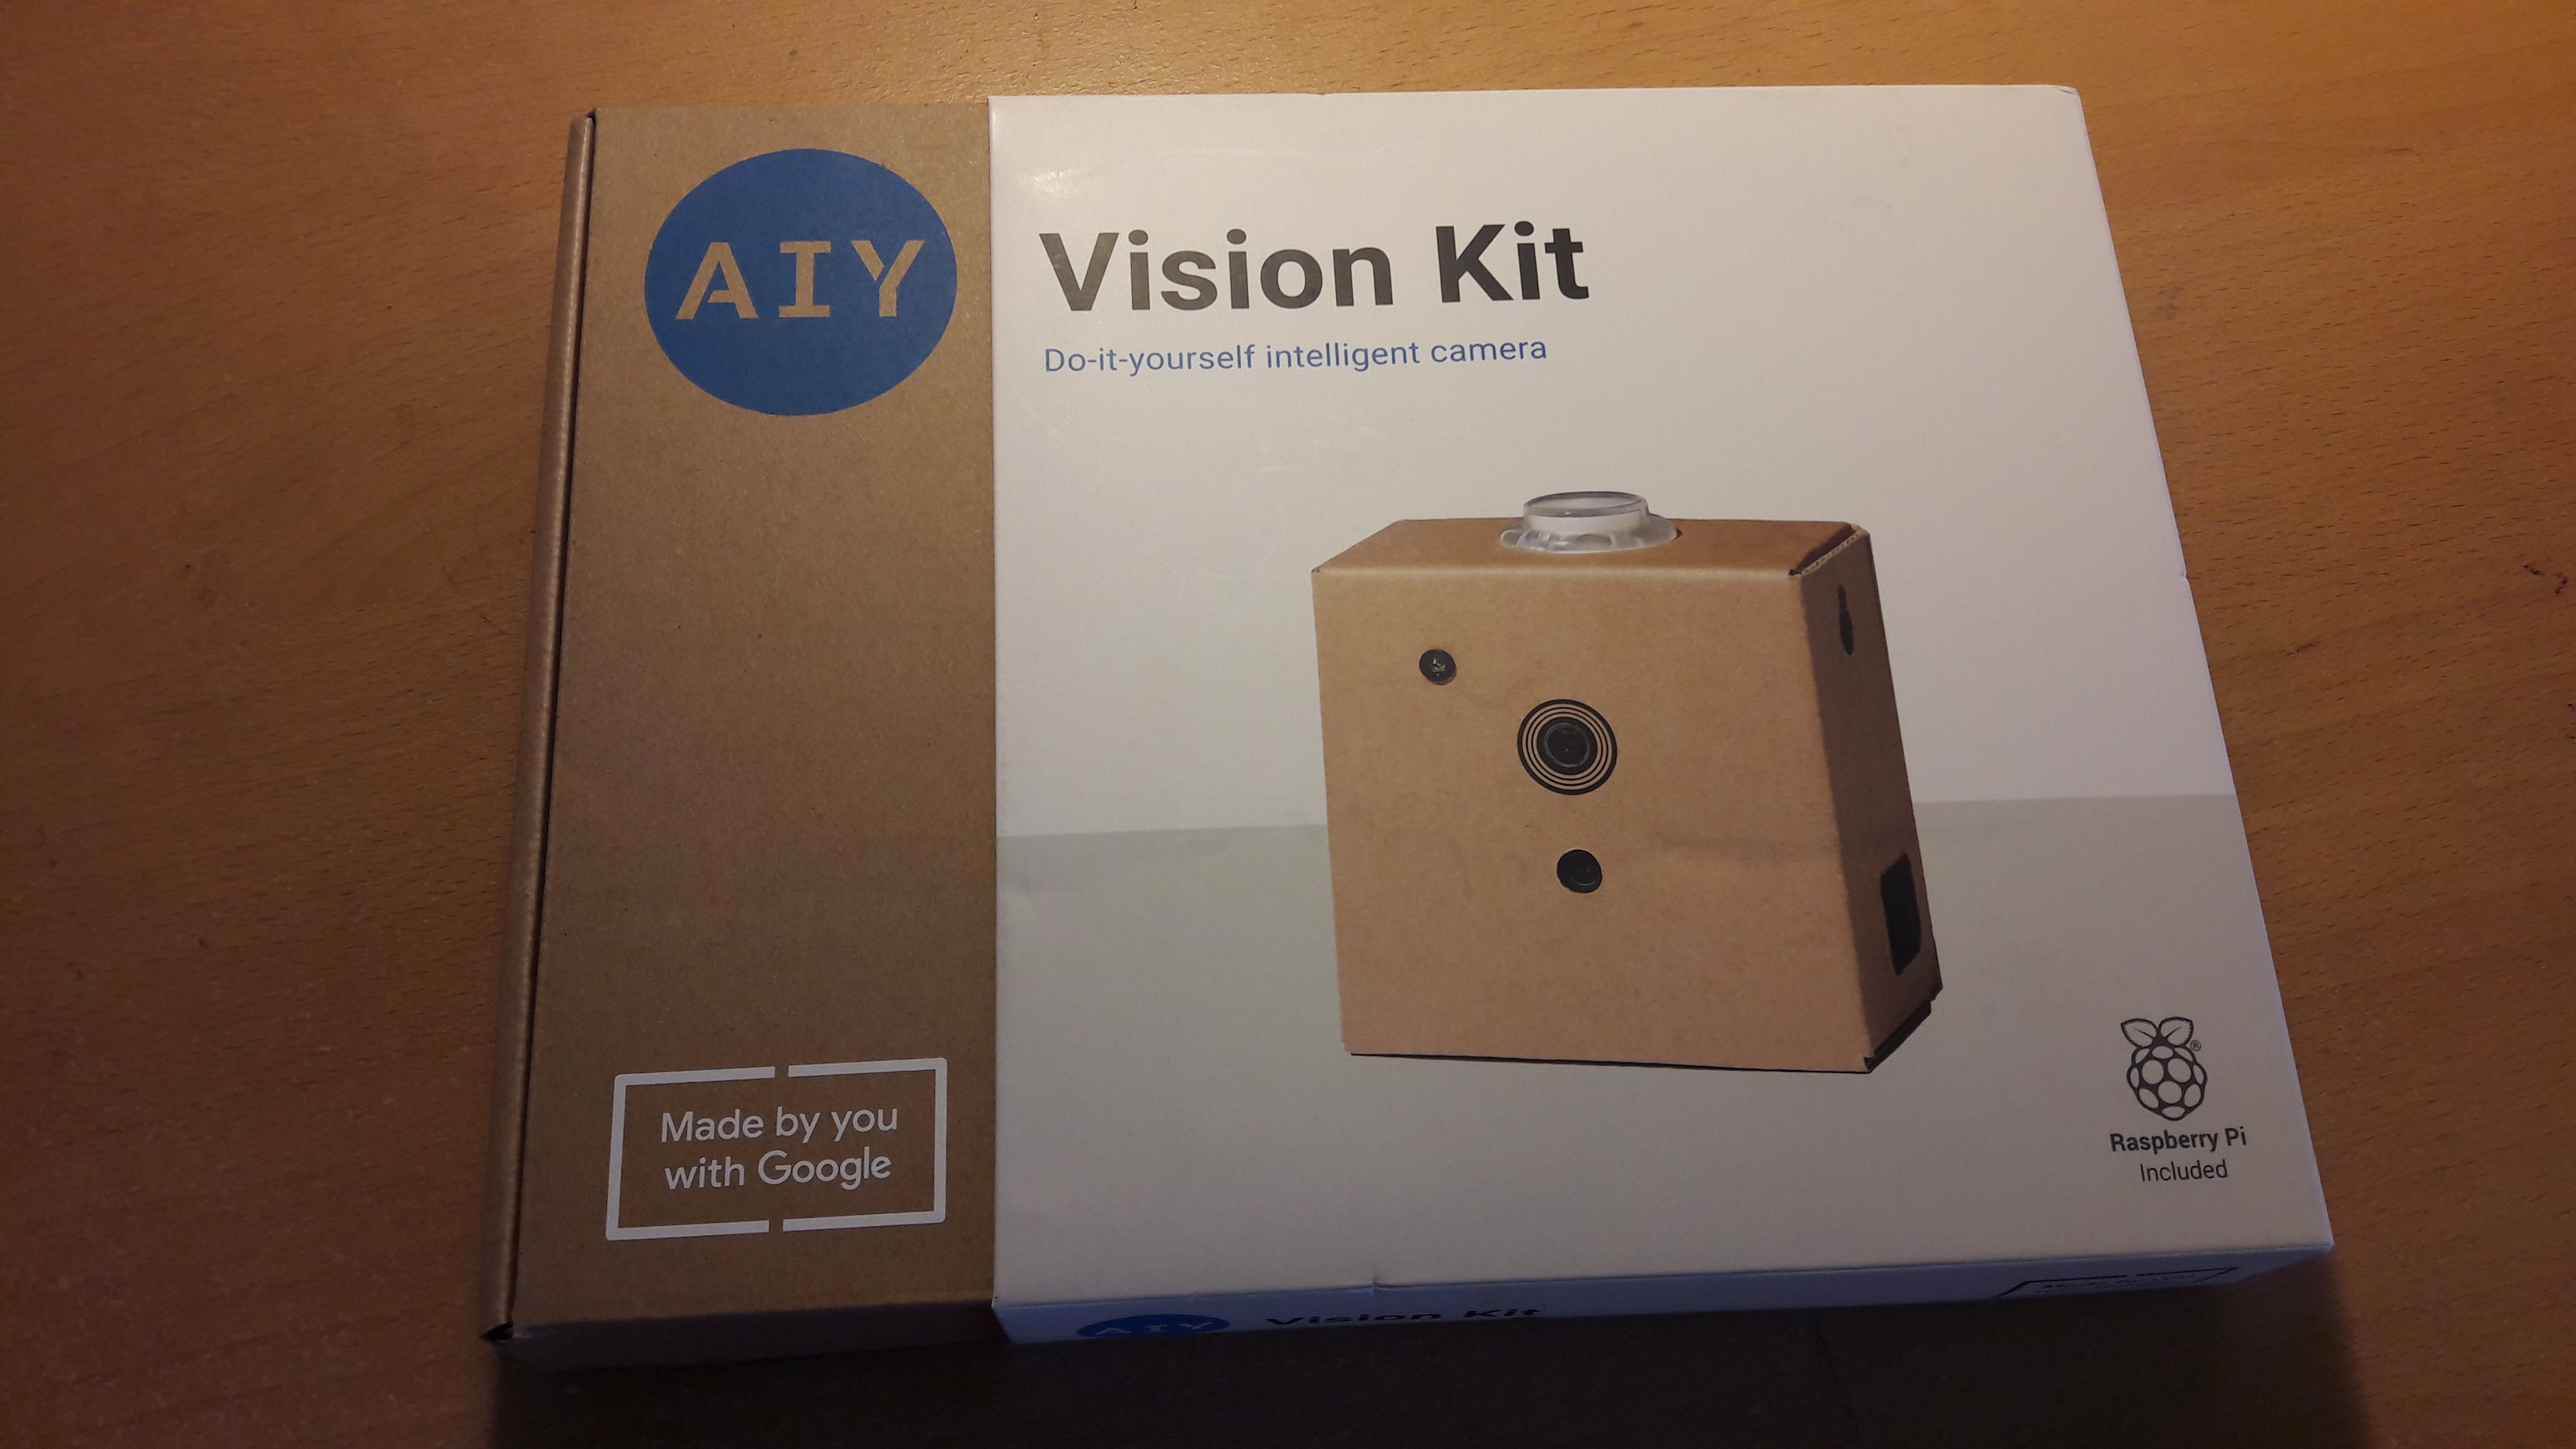
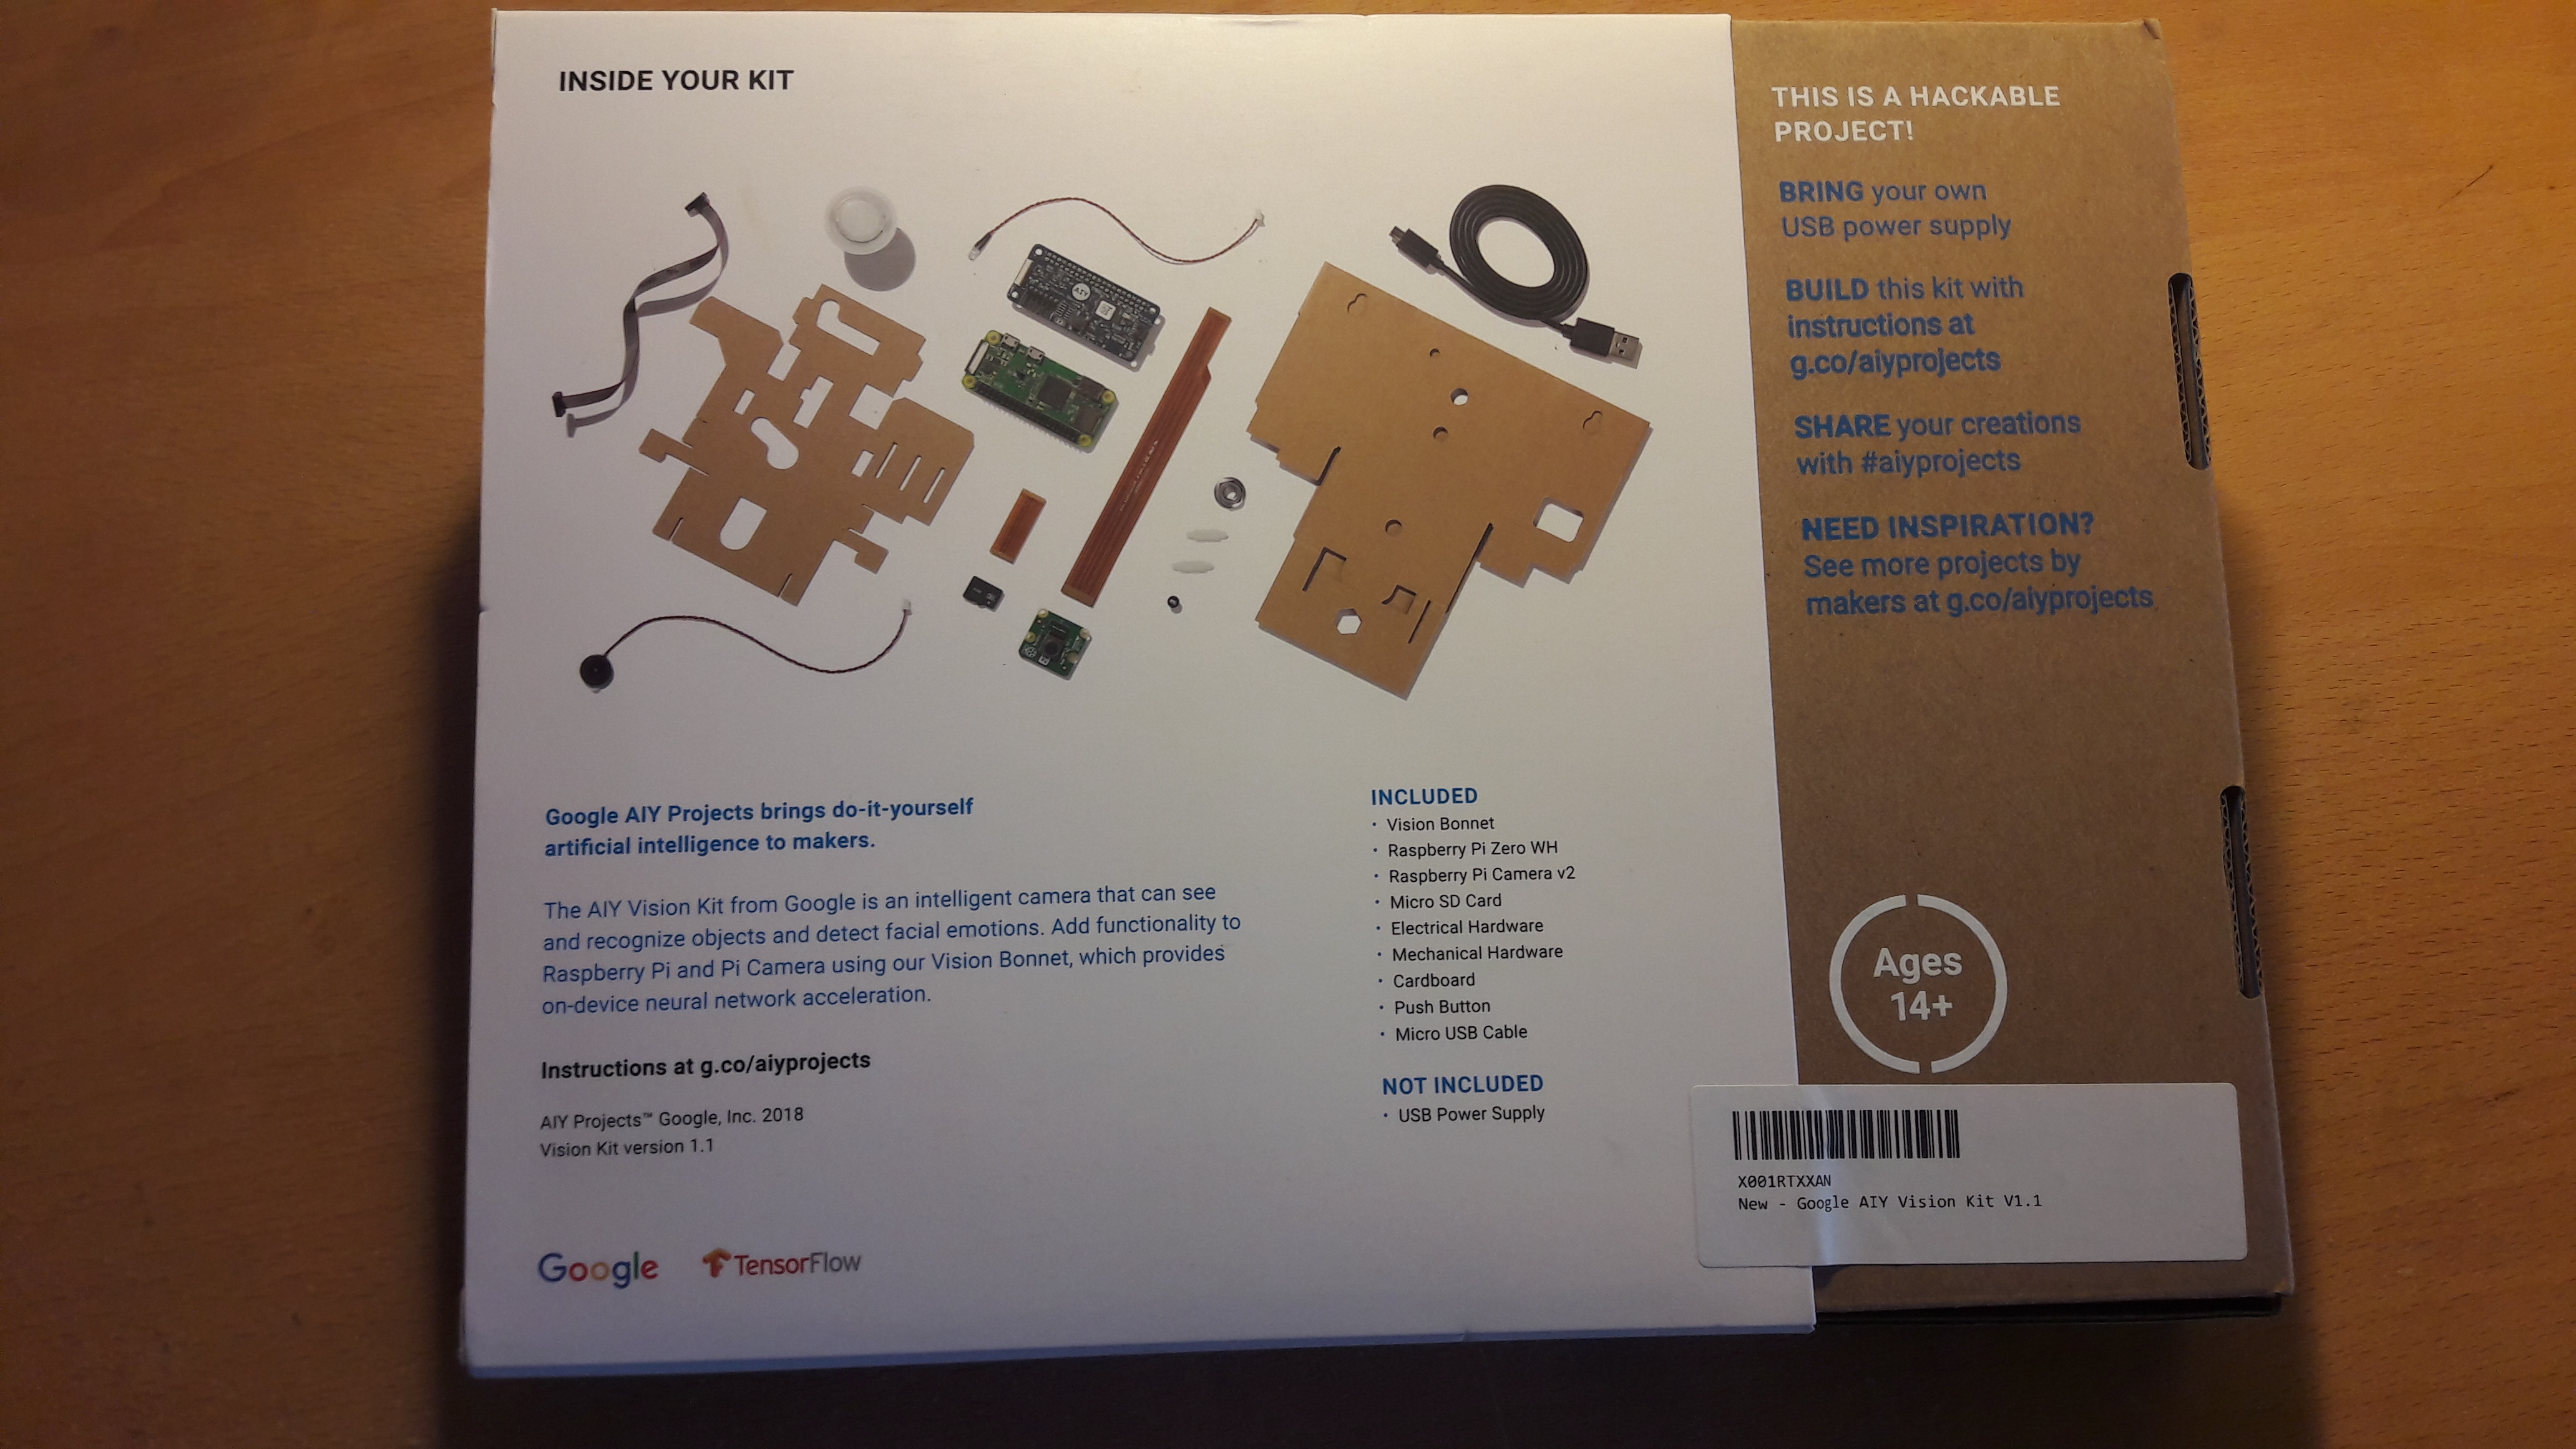
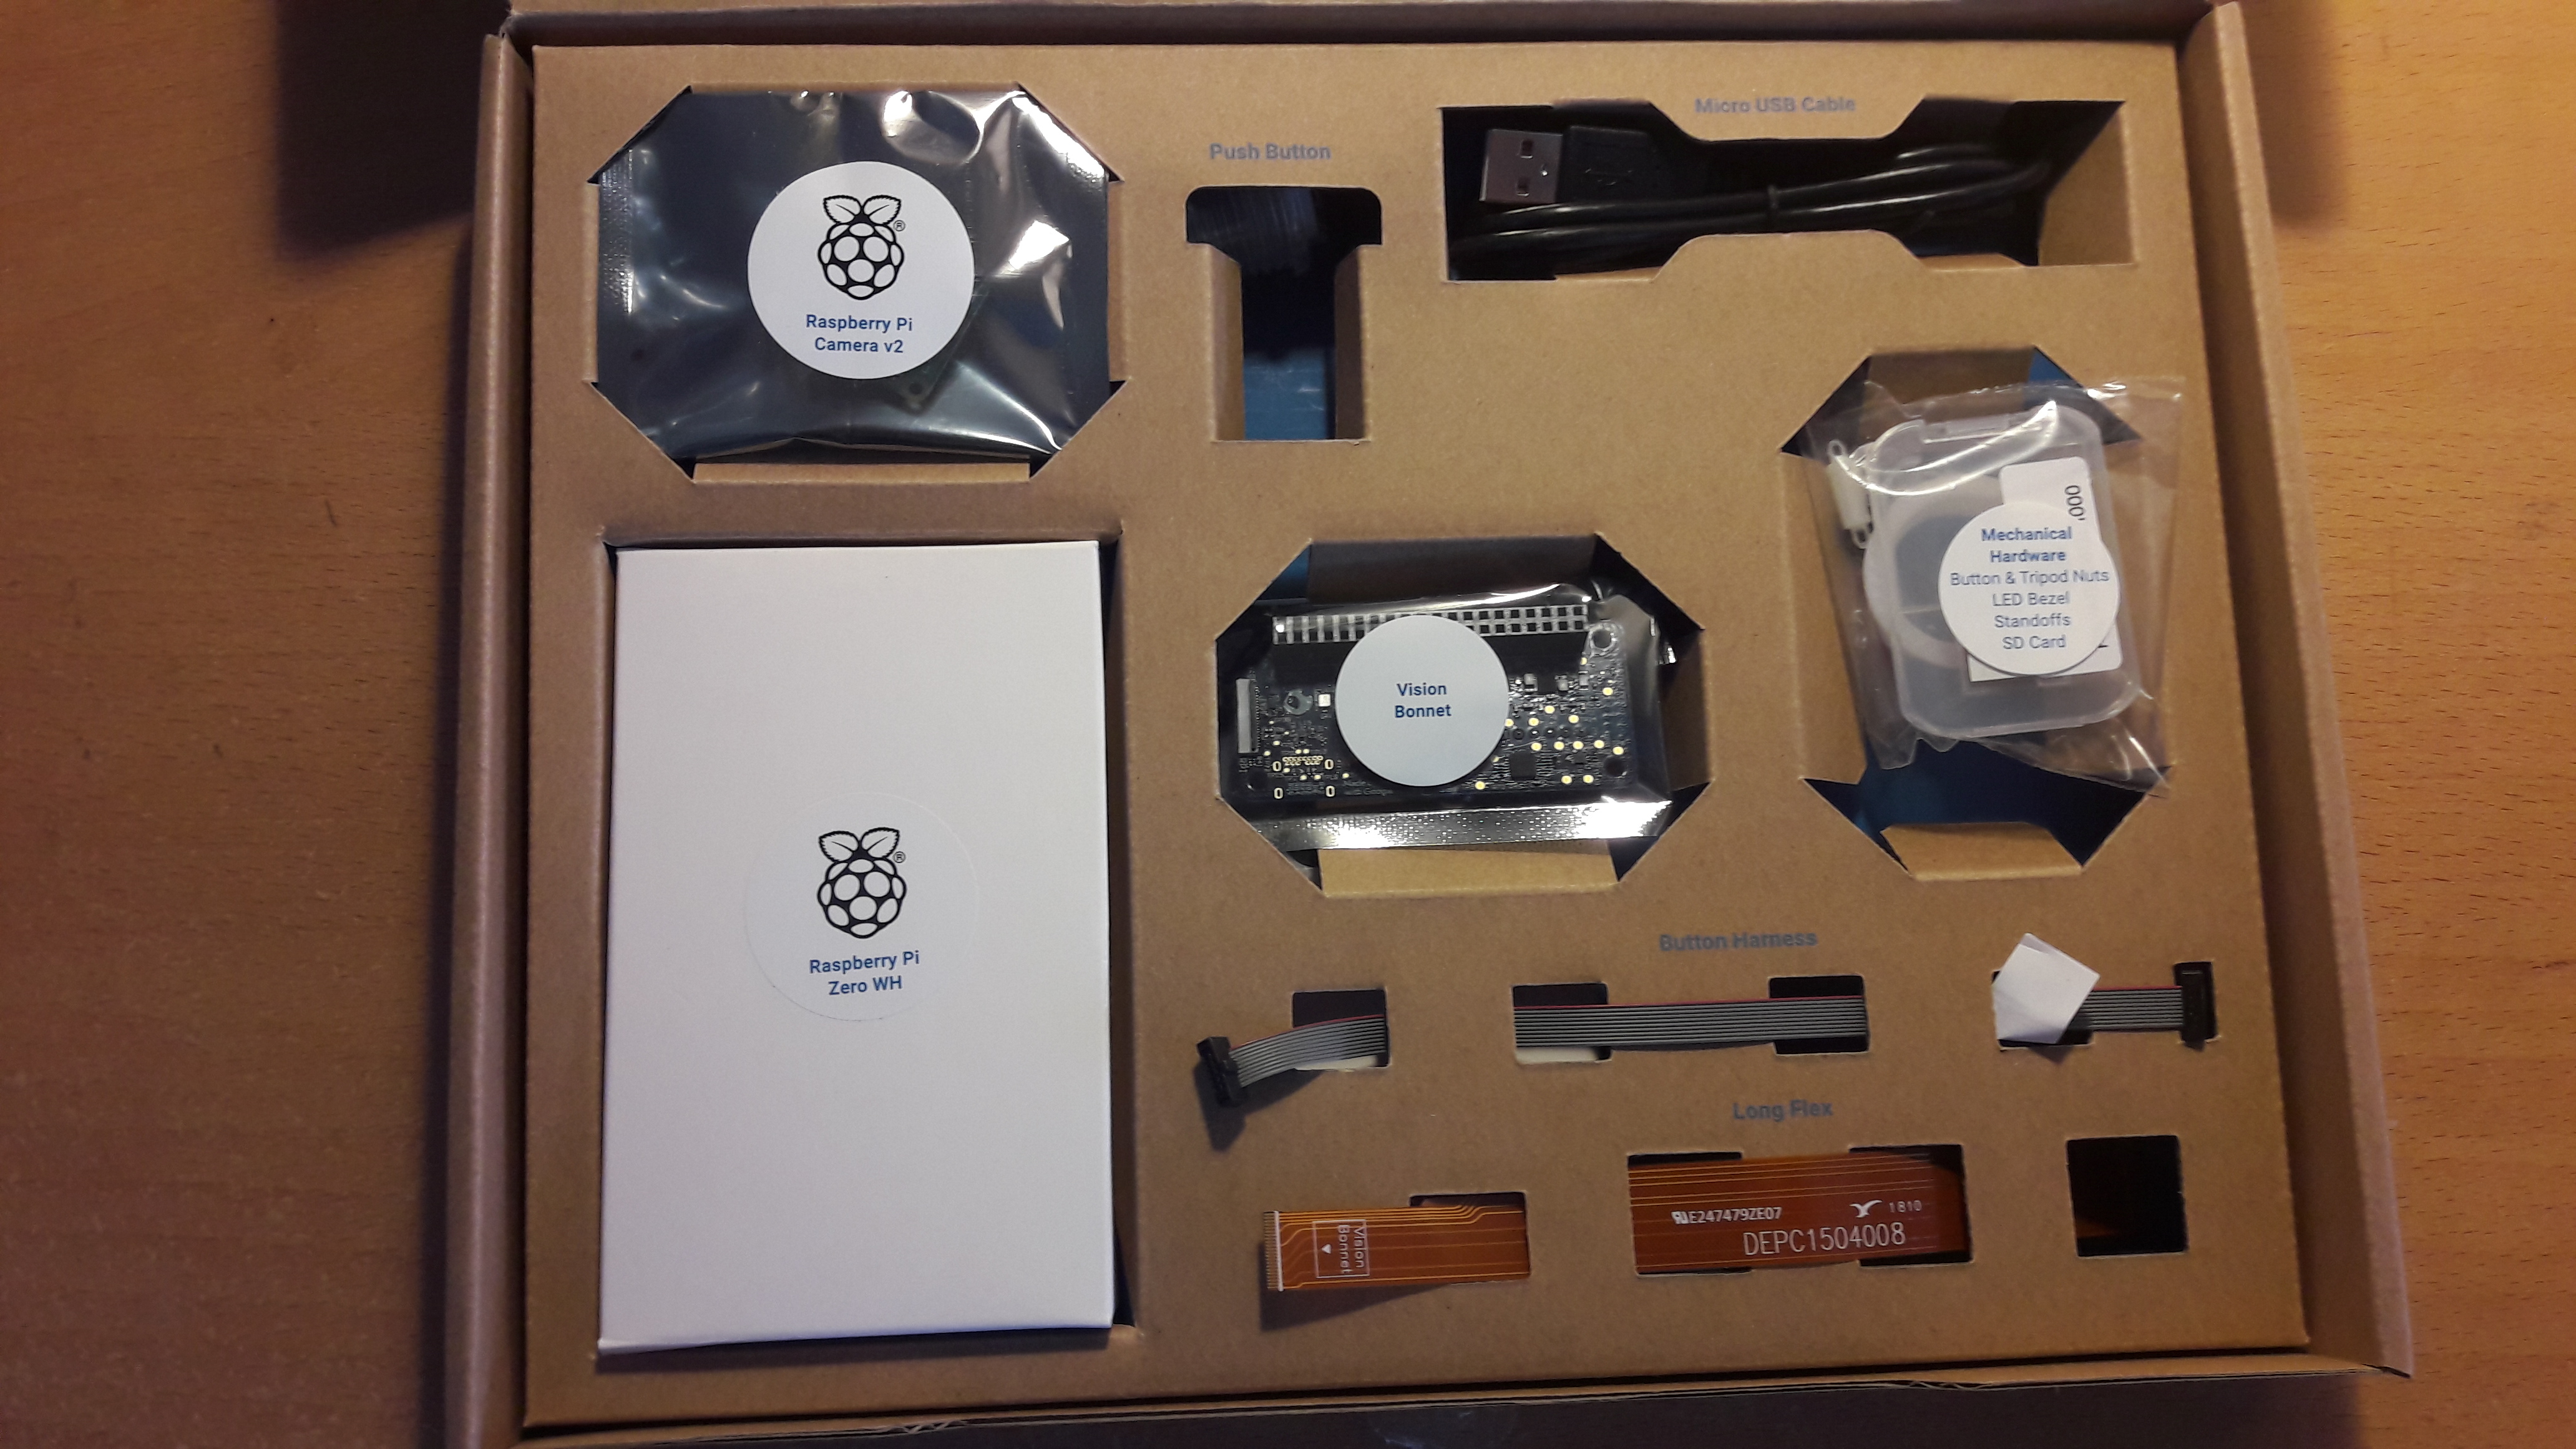
For a few months now I have been salivating at the idea of owning an AIY Vision Kit. The kit is sponsored by Google and allows makers to build their own intelligent camera for object and face recognition. As I have caught the maker and Deep Learning bug some time ago I felt this was the ideal project to combine both. However, the first series of kits were not without its flaws, but now Google has rolled out version 1.1. Based on the Raspberry Pi Zero W (wireless) Google has added what they call the Vision Bonnet, it contains the Movidius MA2450 vision processing chip.
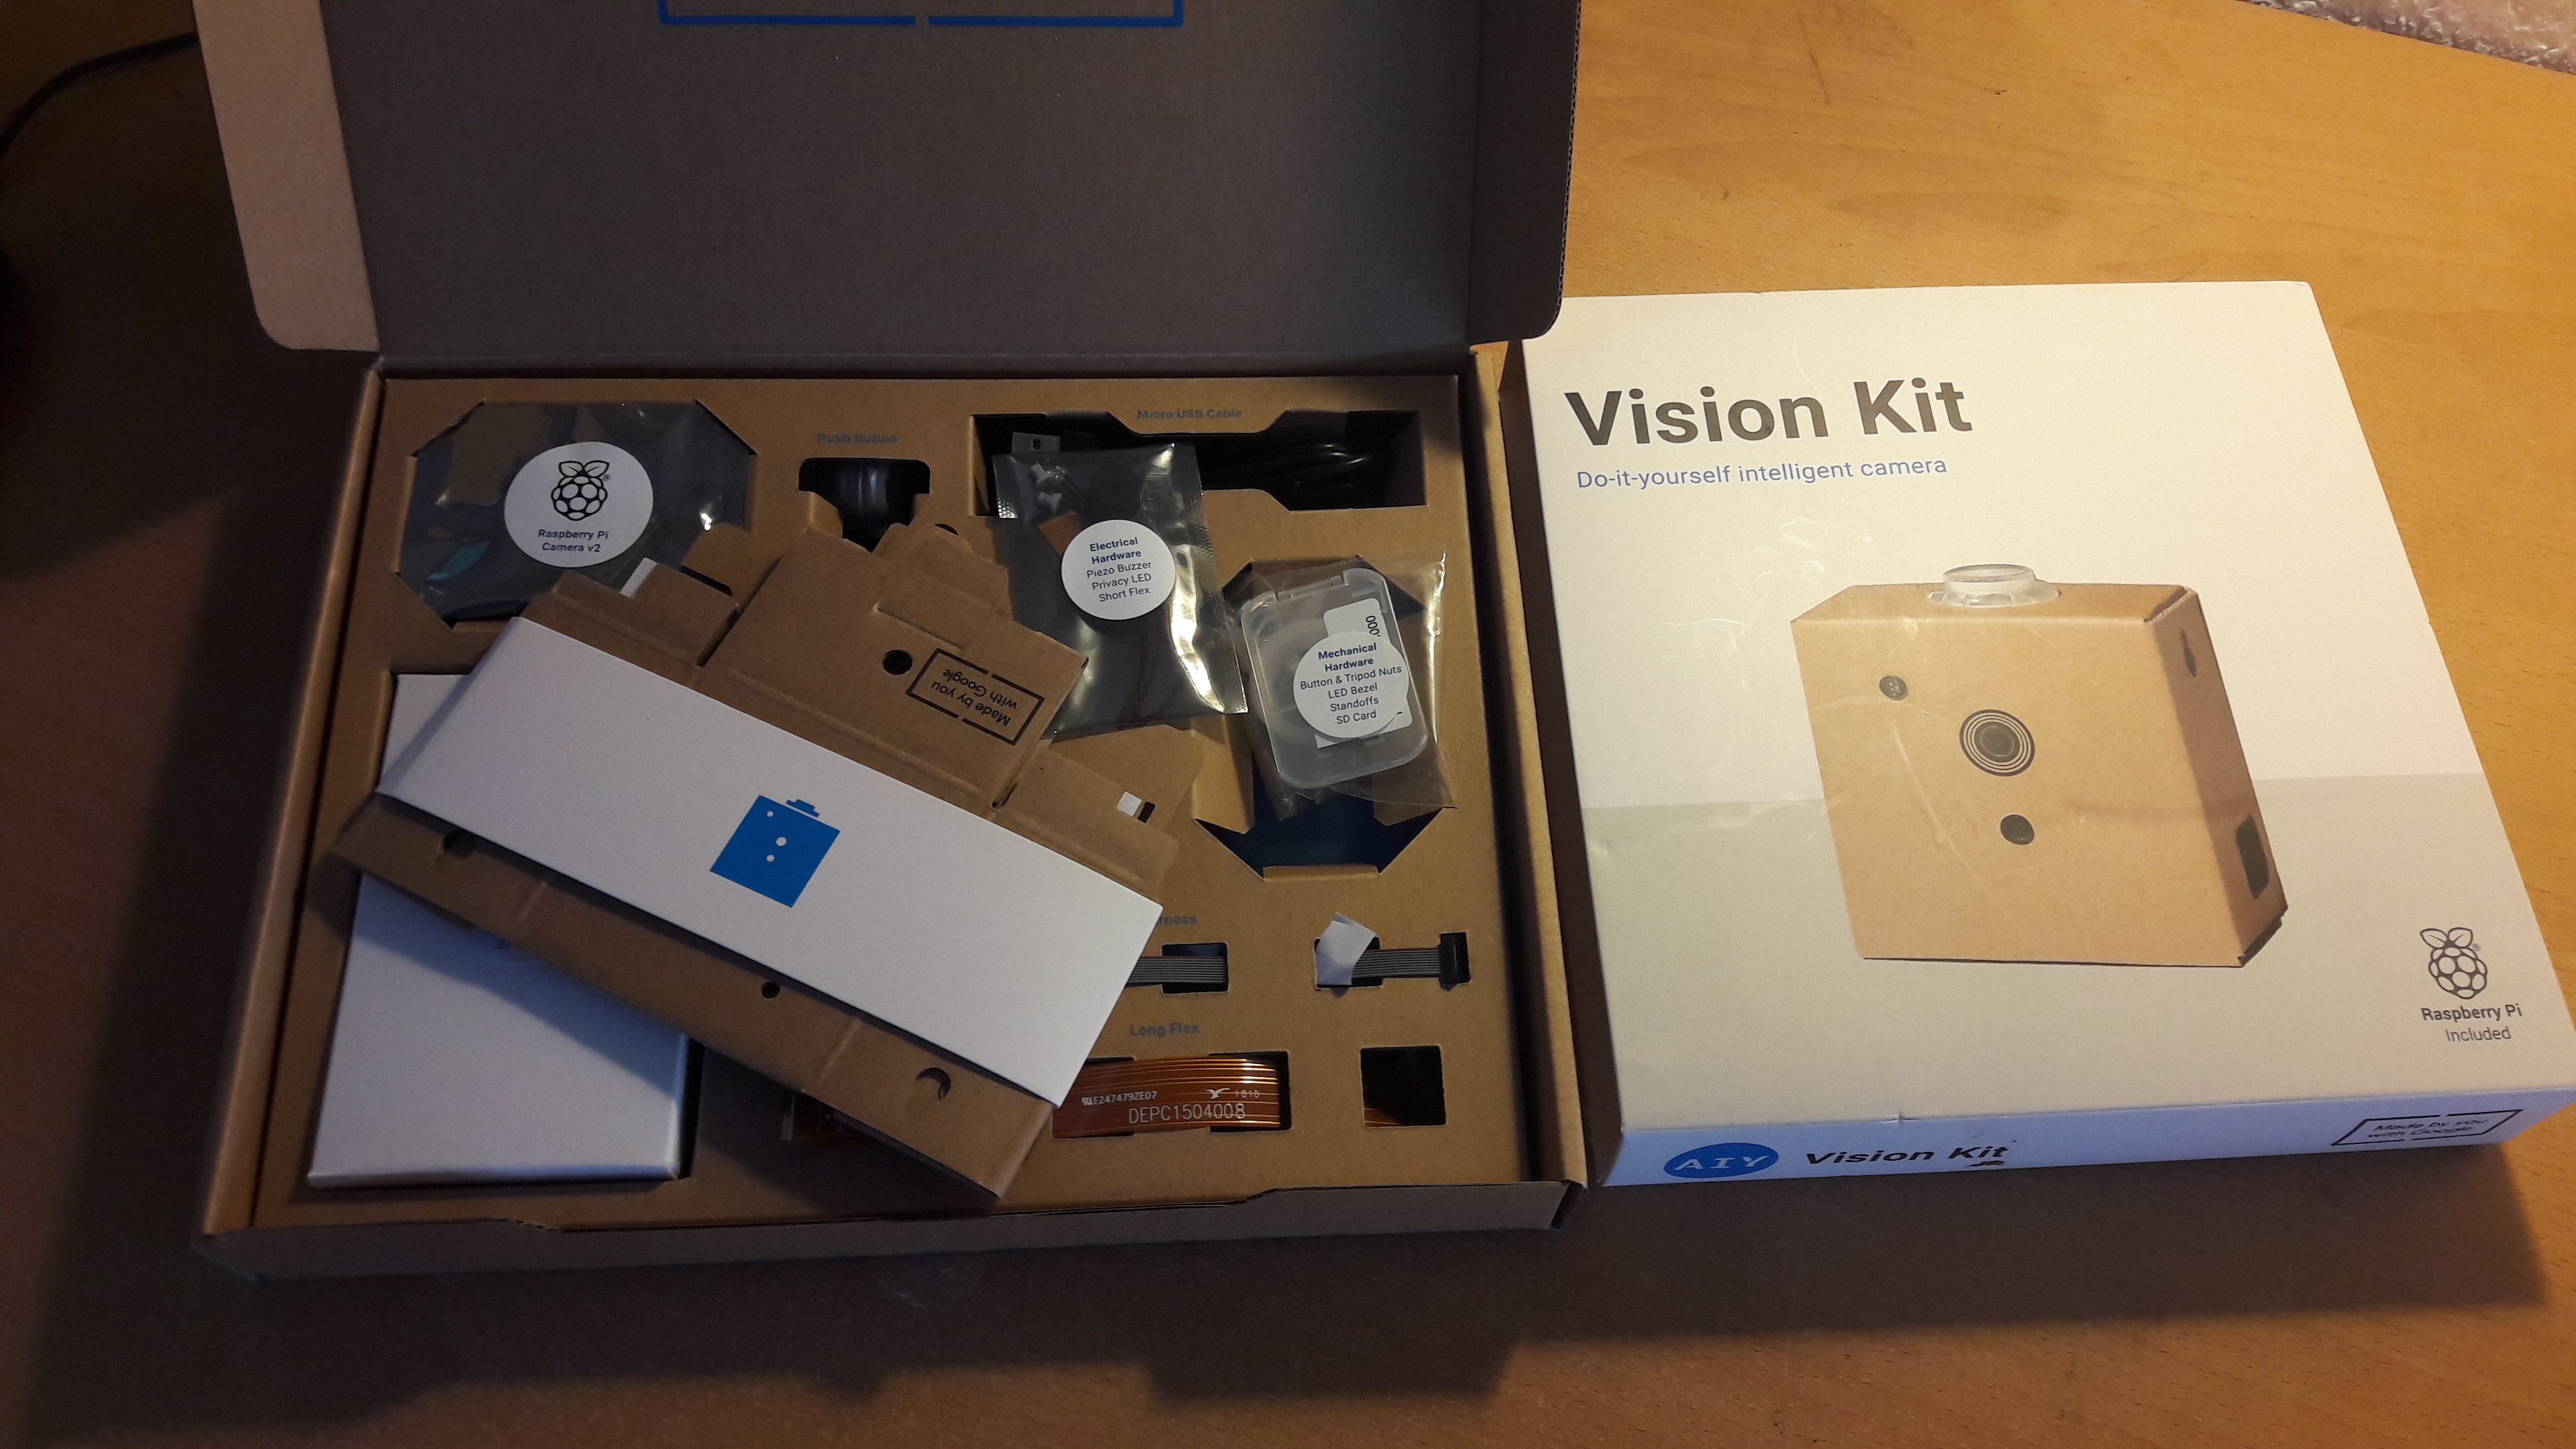
Google has created a superb website that guides you gently through the steps of assembling, connecting to and testing the Vision Kit. I won’t bore you with going over the same ground and explain just the highlights below.
Connecting to the Vision Kit
After the Vision Kit has been assembled you have two option of connecting with it. The first is through SSH. You can use browser-based plugin or an application such as Putty. You can also just use Linux and type in the SSH command. Before that however you need an IP address. To get one for your Vision Kit you need to install an App on your Android smartphone. I was a little apprehensive of this – after all I have plenty of one time use application already. But the AIY Projects app is easy to work.
After installing the on-screen instruction ask you to press a button on the Vision Kit to allow it to roam. The app will discover the Vision Kit. After choosing the right wireless network the Vision Kit will connect to that network. To ensure you can make an SSH connection the AIY Projects app shows you the IP address assigned to the Vision Kit. It is as easy as that. If you don’t get the gist already then let met assure you that working with Vision Kit is easy. Google have really outdone themselves with their support.
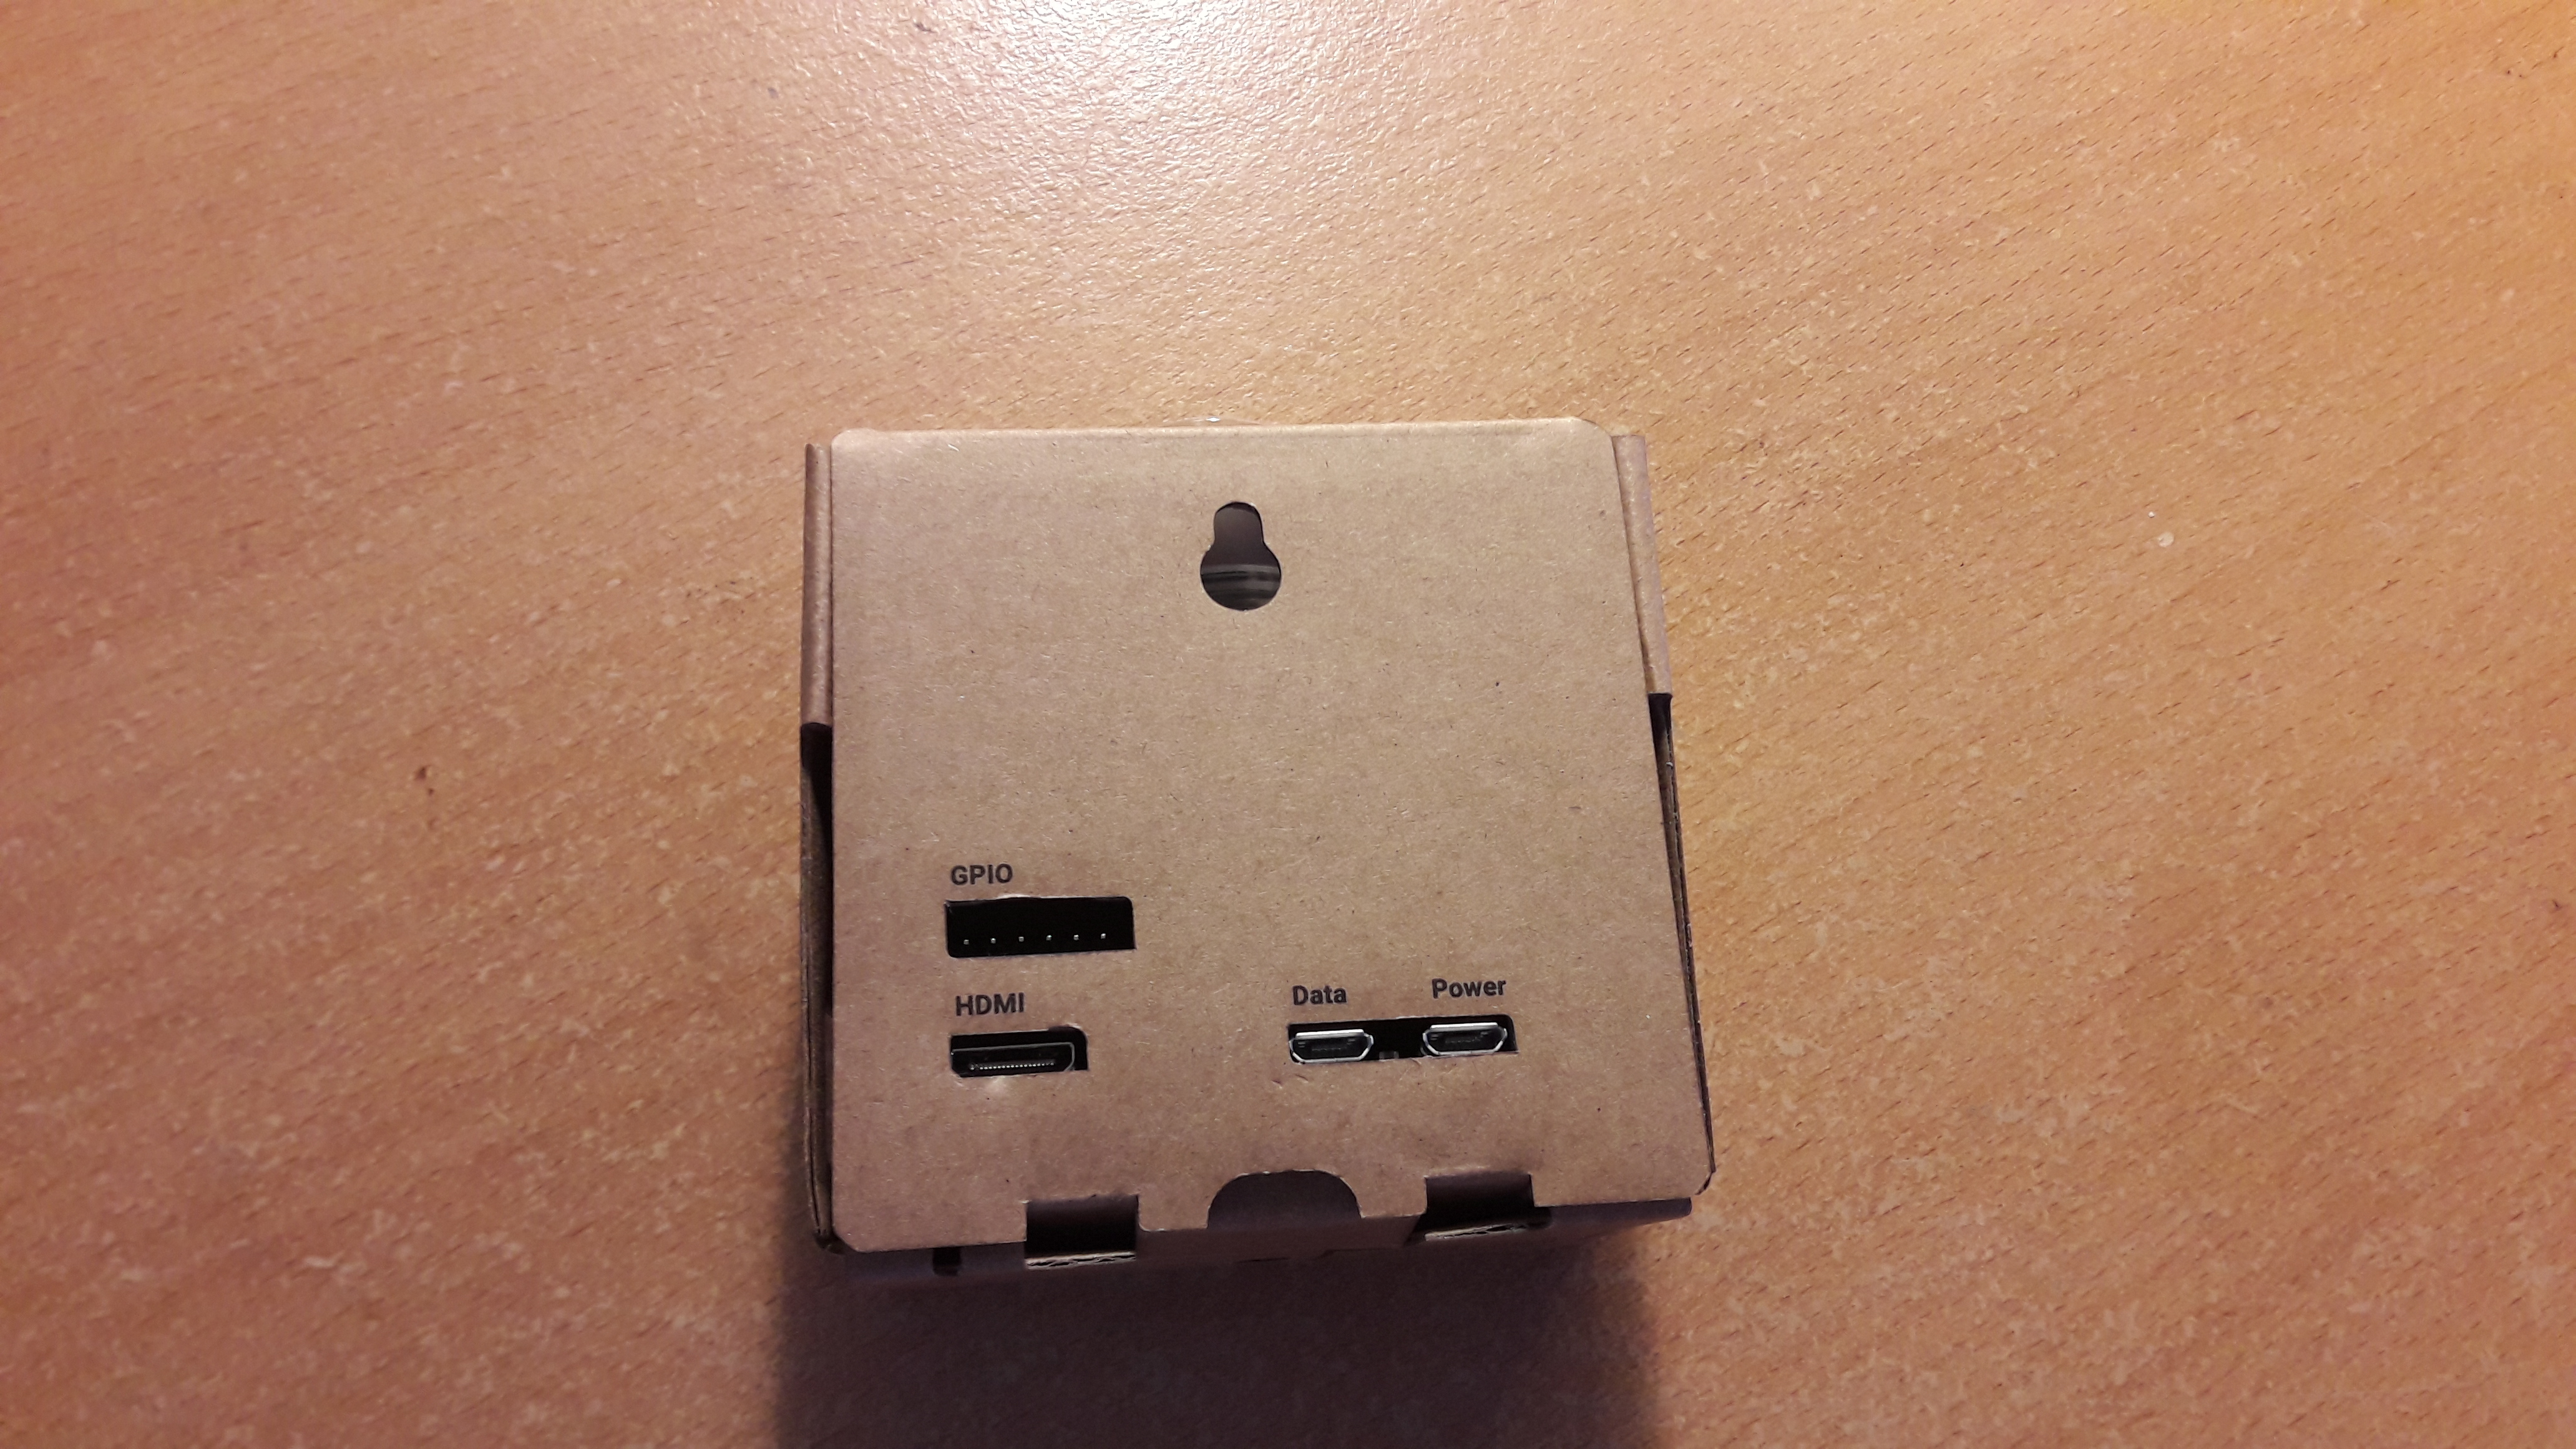
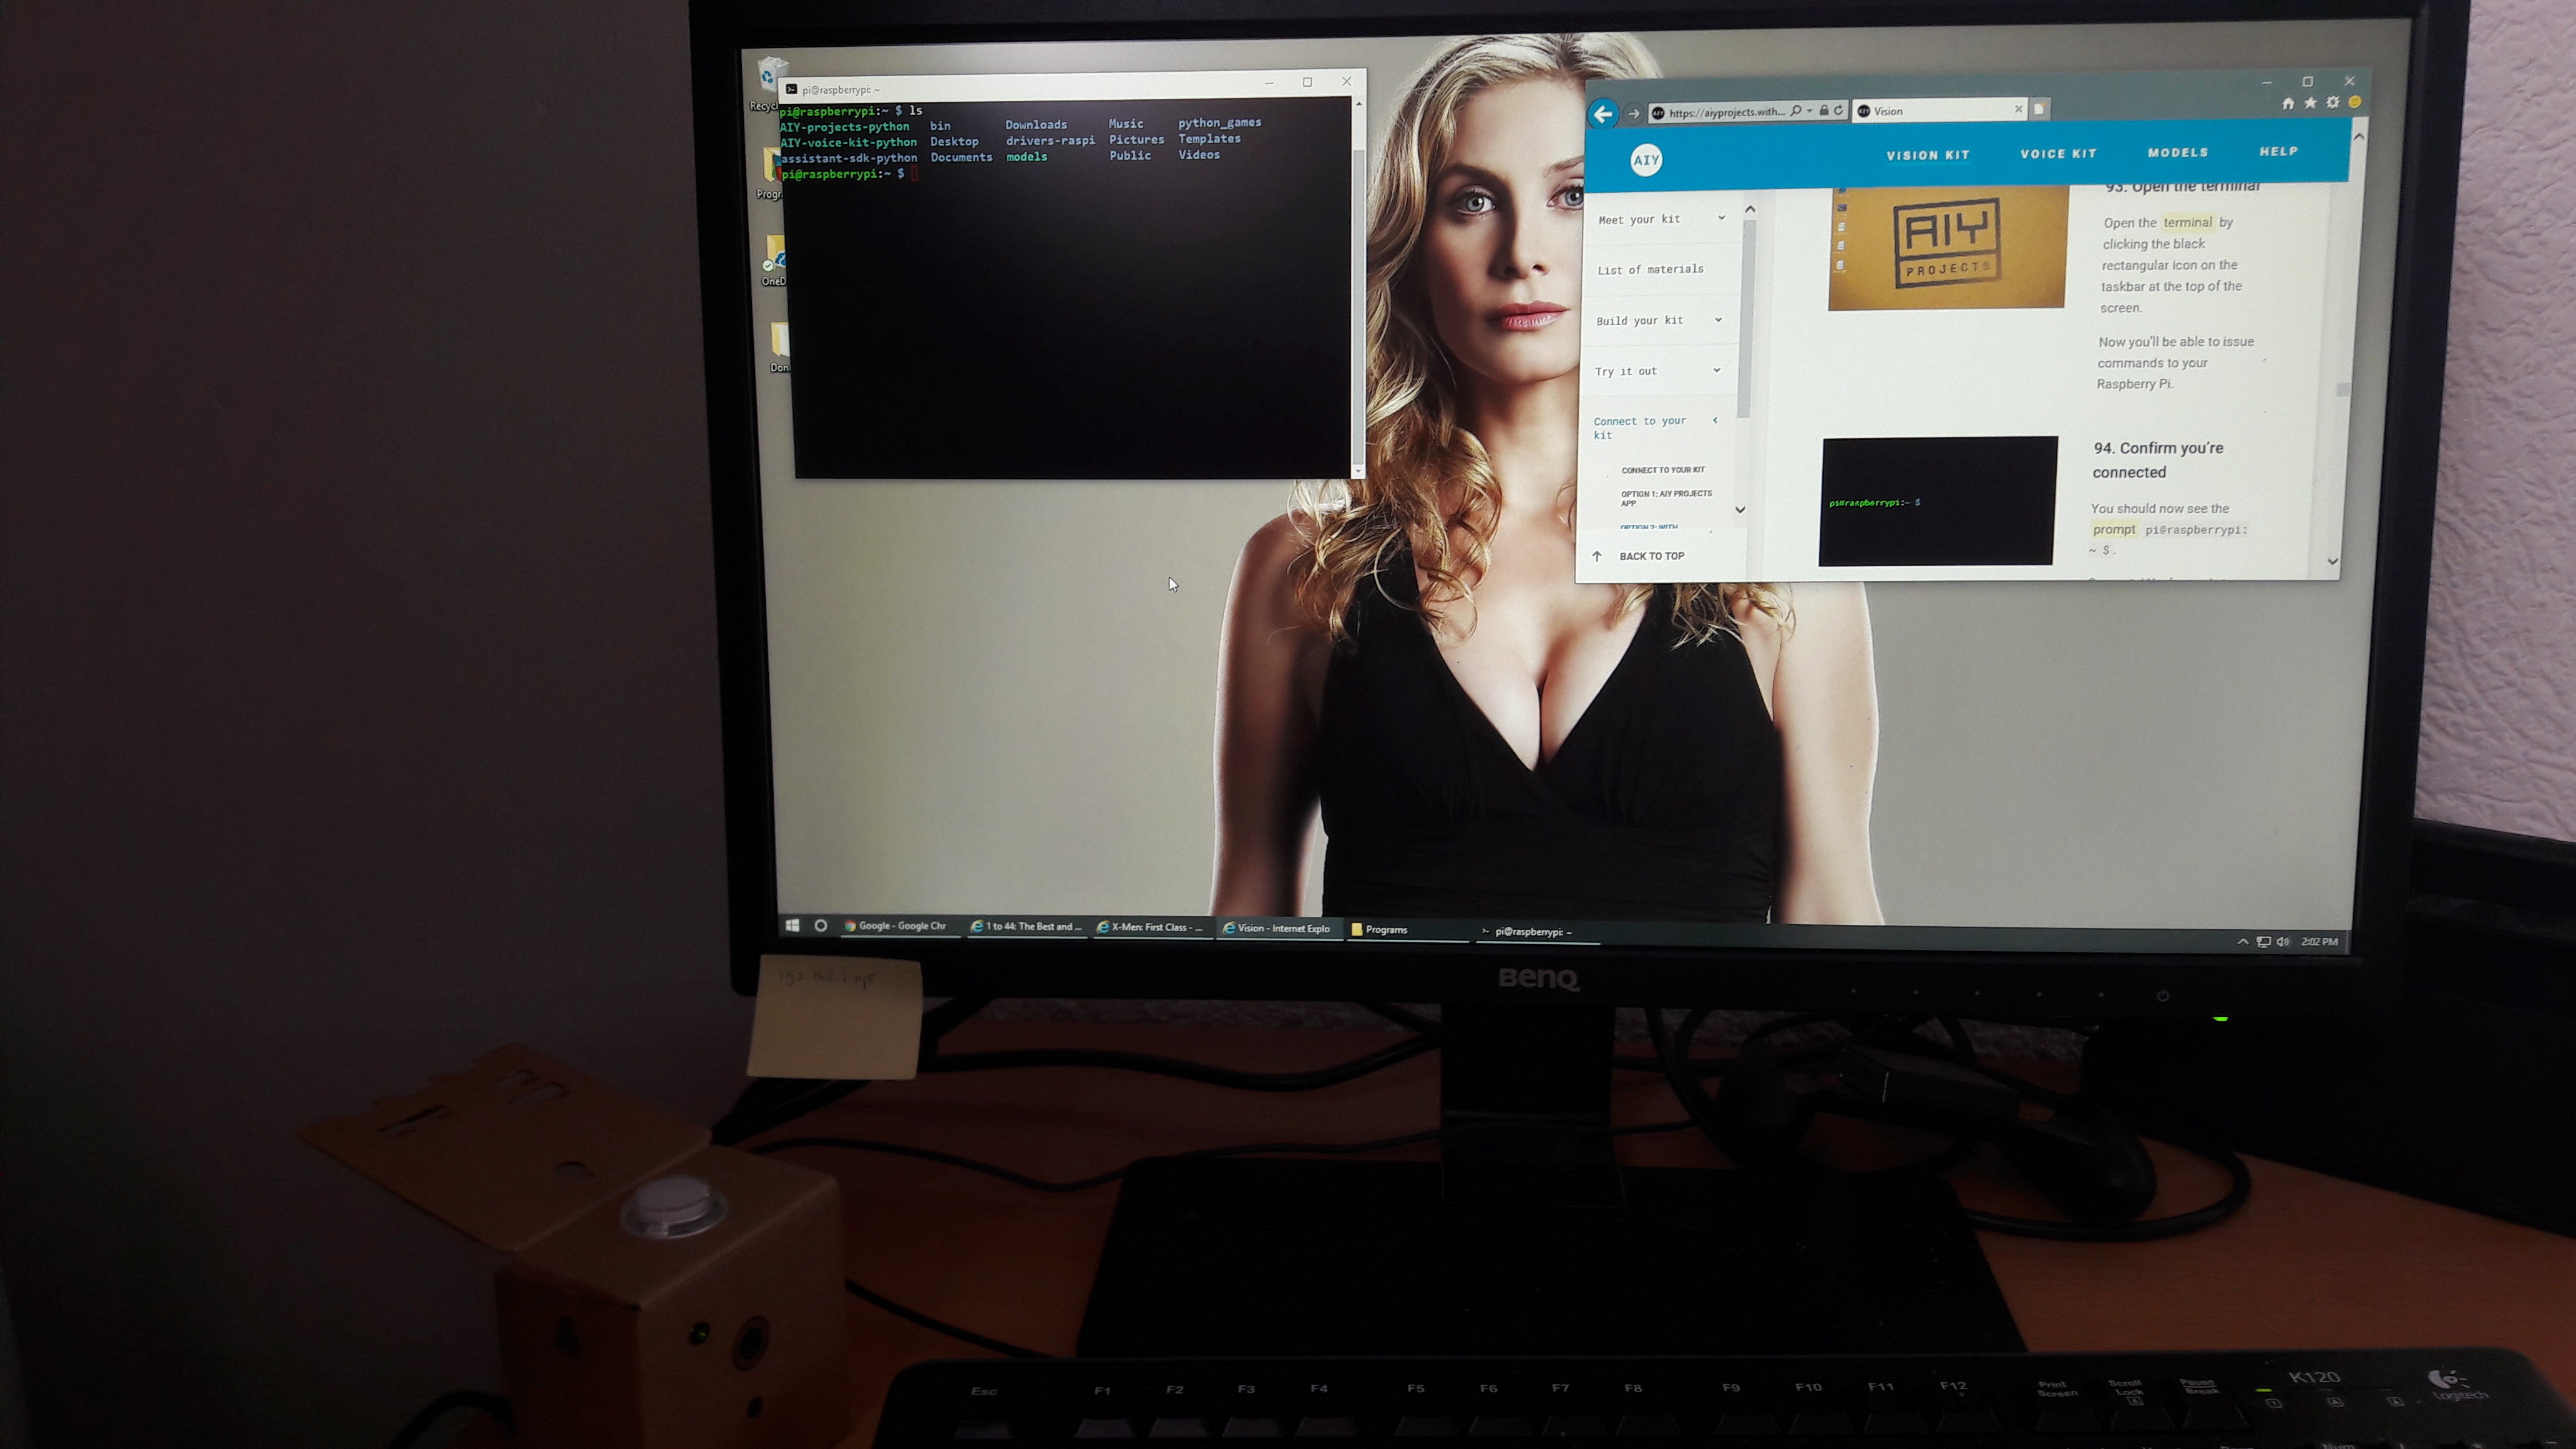
The second option to connect to the Vision Kit is through a monitor, keyboard and mouse. The Raspberry Pi Zero W has one mini-HDMI port, so a conversion plug is necessary if you don’t have the right cable. Furthermore the board has two micro-USB connectors. One is used to provide the 2.1 Amps of power so the keyboard and mouse would have to share the second connector. I have not yet tested the second method of connection. It has the advantage you can use the GUI and with some demos a pop-up showing what the cameras sees will appear. I will showcase this alternative method in a follow-up article.
Trying out the demos
Now that everything is set up it is time to run some of the demos that are already installed with the Vision Kit. Issuing the following command will stop the default ‘Joy detector’ application, until the Vision Kit is restarted that is.
sudo systemctl stop joy_detection_demo
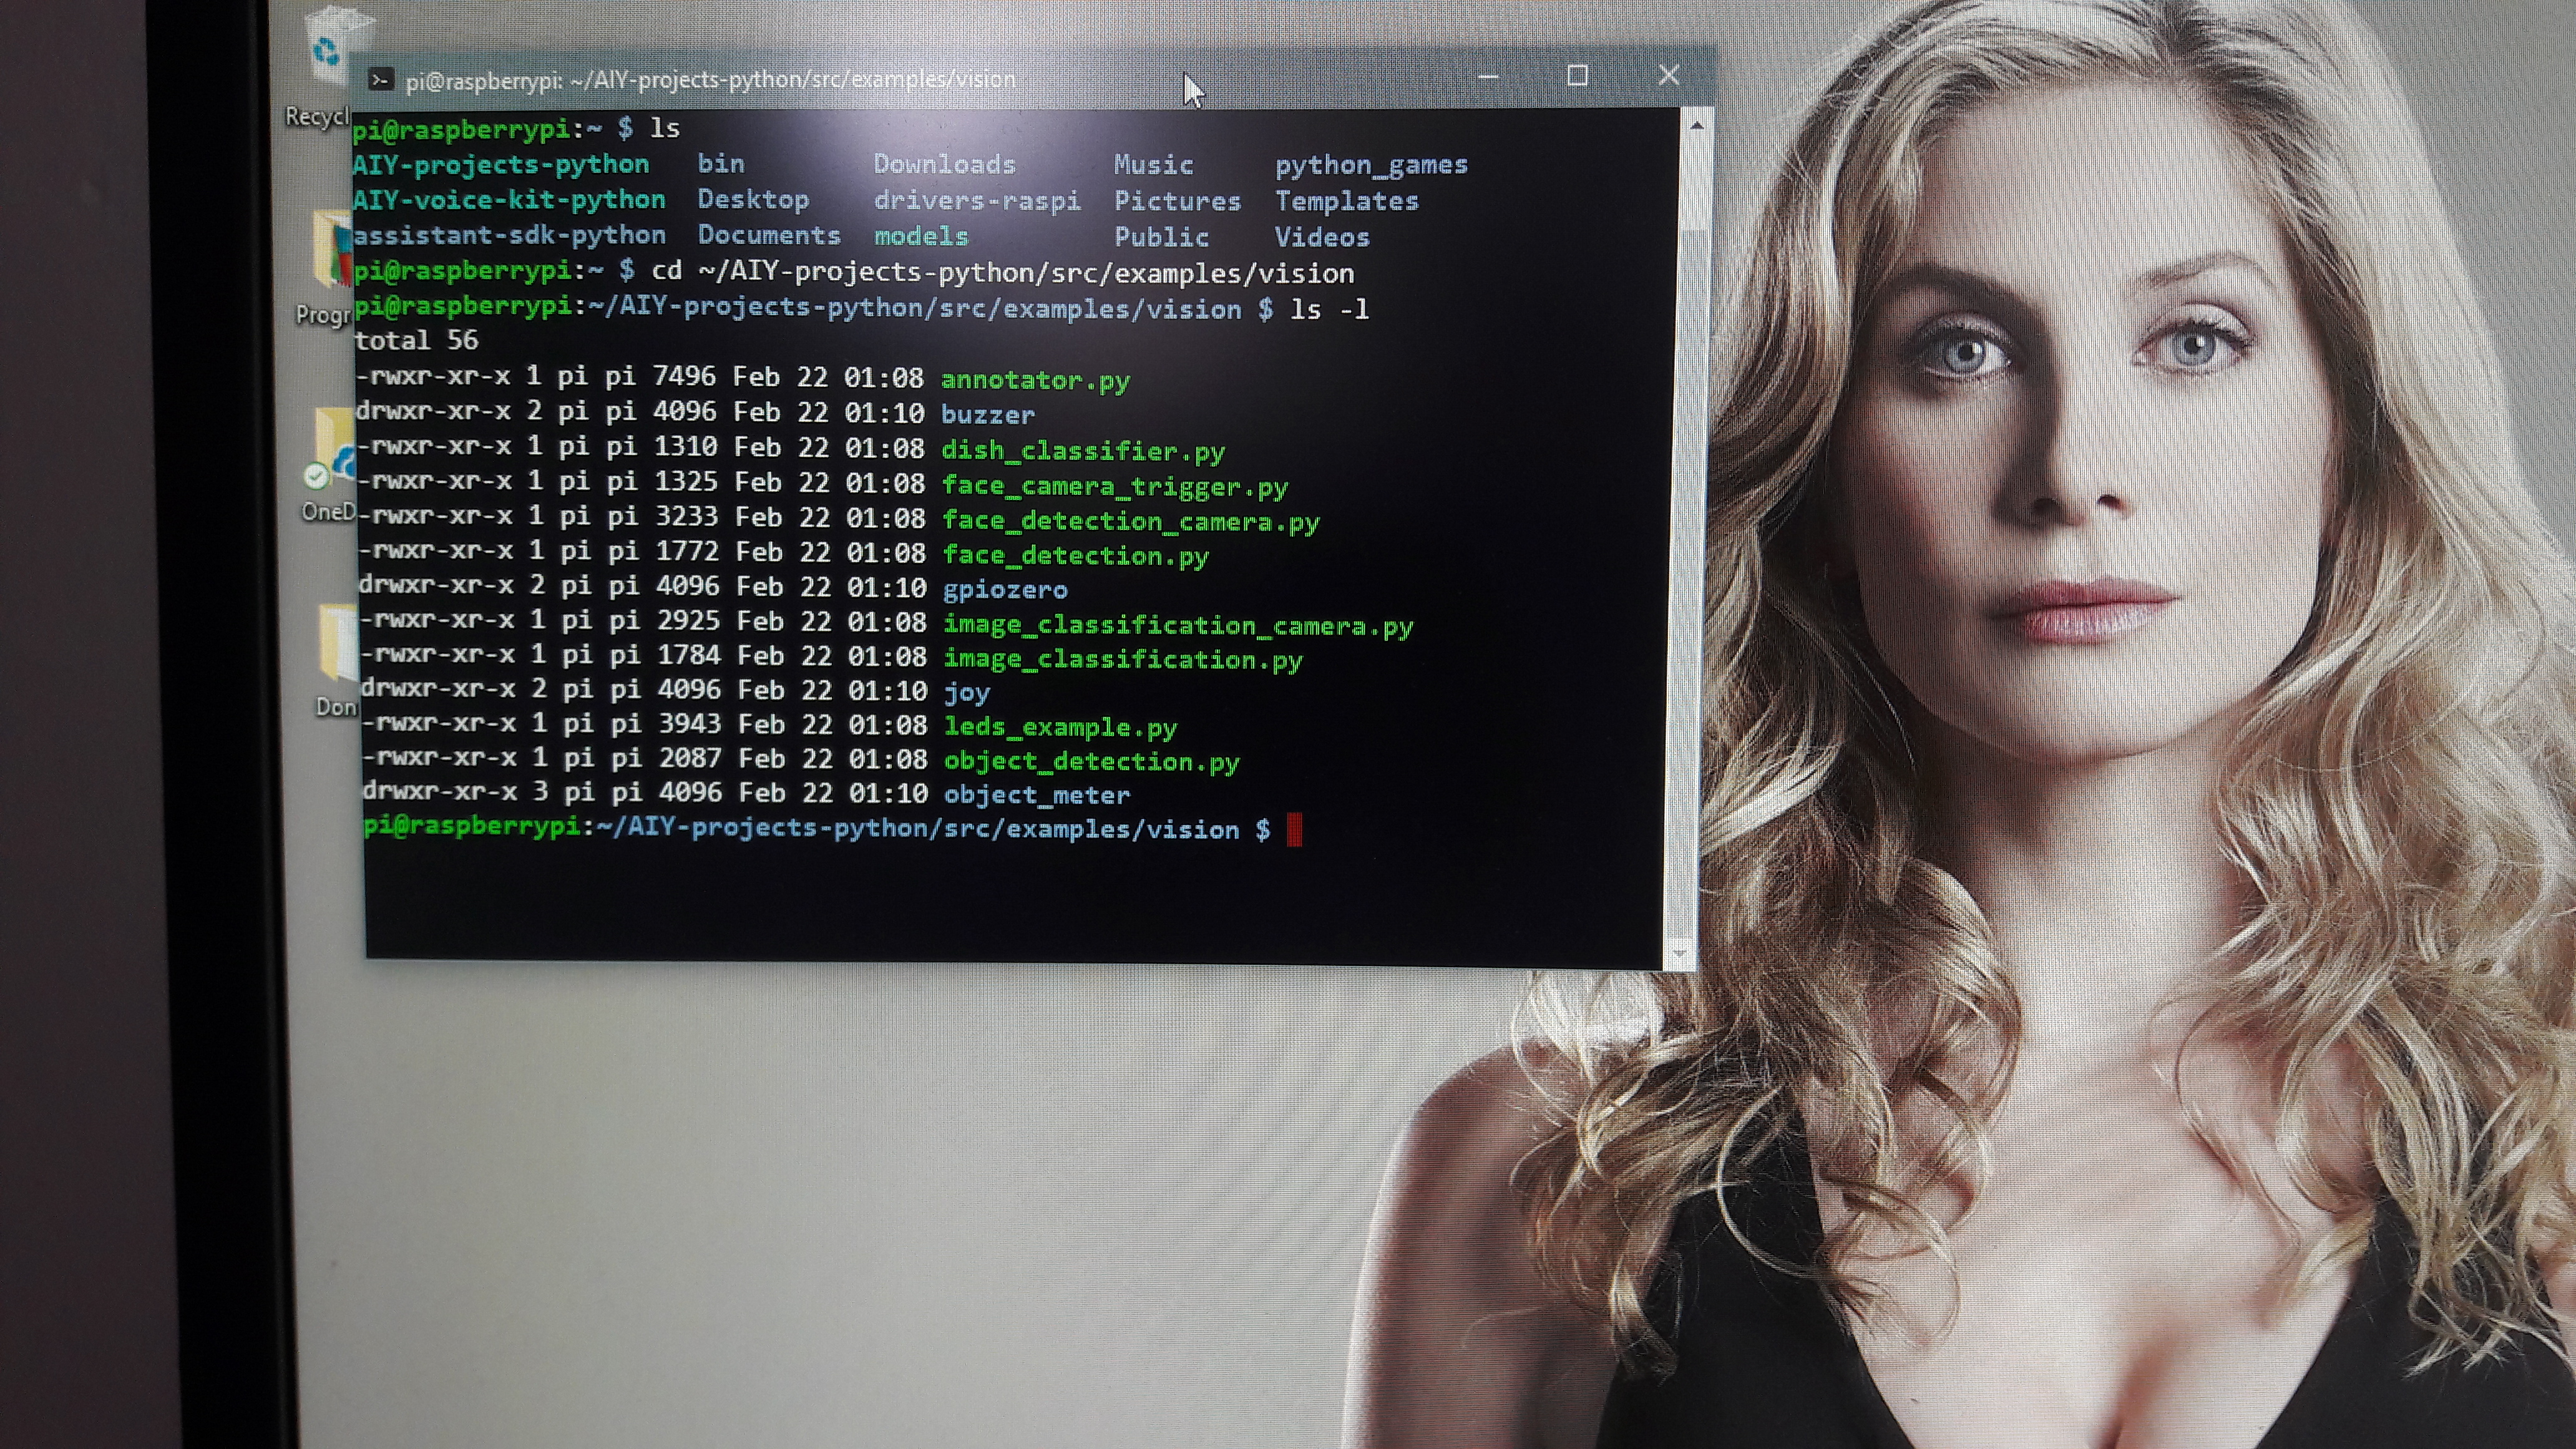
Navigating to the AIY-projects-python folder shows what application are installed.
cd ~/AIY-projects-python/src/examples/vision
Lets start off easy. type in ls -l to show what is installed. The titles in green are the demos, blue are folders that may contain more files. The first demo I tried was the face detection camera. Type in the following command to run it.
./face_detection_camera.py
It takes a short period for anything to happen but when it does it will give output about twice per second. The output is a value called num_faces. As you can guess it counts the faces the model recognizes after undergoing pre-training by the development team of Vision Kit. For me the value returned is either 0 or 1, depending on whether I was holding an object in front of my face! To end the program just input Control and c (Ctrl-c).
Image classification
The second demo I tried was image_classification_camera. If the Vision Kit detects an object it will test its model and return the 3 most likely classifications, and their chance. So when I put the Vision Kit on my table to look at the output I was amazed it recognized the keyboard and table as the likely objects then in view. The third possible choice was handrail. That was not correct but I guess it was close enough. I am not certain what the model has been trained on – it may have been ImageNet, but it had no difficulty detecting everyday objects.
As the code is Python you can easily extend it for other purposes. Python does not require compilation and can run as is. All of these things can be read on the AIY Vision Kit website, but I thought I give you a personal tour of the kit as well.
Conclusion
Oddly enough having a Vision Kit at home does put me at ill ease somewhat. I am reminded of last year’s movie The Circle – starring Emma Watson. In that adaptation of the novel by Dave Eggers the Google-like company rolls out a cheap ubiquitous camera called SeeChange that turns the world in a dystopia of social surveillance. Now, I have plenty of camera’s at home already: mobile phone, laptop (covered up), game console (covered up) and several for Arduino / Makeblock. But now I am participating in a kit that could potentially achieve something similar. Meanwhile I am concluding my work on the Coursera Deep Learning specialization by Andrew Ng. With just one more week to go with the fifth and final course it feels like A.I. is starting to be everywhere I am.
As I mentioned this is only part 1 of a series of articles for the Google AIY Vision Kit. Next time I will continue to experiment with the demos already installed and I will try my hand at creating my own TensorFlow program. I think that would be the capstone for this project. I am not certain how many articles there will be, but I think 2. Check back in a week or so for the next.
PS, should you have difficulties assembling the Vision Kit you can always drop a comment below.



it’s so cool, nice share