The SparkFun Inventor’s Kit
Let me introduce myself. I am a software engineer. I code, program and find optimal solutions to problems that can be defined mathematically. I am not really much of a hardware guy. Sure I know how computers work – sort of. But I am not a tinkerer. I write, paint and I draw but I don’t know much about electrical engineering. About 8 years ago I tried to remedy that. I bought an Arduino based robotics kit. In hindsight I should have realized it may not have been the best place to start. Following the instructions to put it together went easy enough, even if it did require soldering. But after I had finished all I had was a robot that I could program – and move a bit. I still did not know much about electronics. I learned soldering and a bit about resistors but that was it.
A MOOC
A few years ago I followed an online MOOC from edX in which you had to build your own robot from a yet another kit, but the course would also explain how the components work. Sadly, they did not mention it was not an introductory course. The robot remained half finished and all I learned is what a Wheatstone Bridge is. I think the course never really took with others as well. Now I find I have the urge to start again. This time I am not going to take any chances. I am going to start right from the beginning. That means no robotics kits, no soldering and preferably an extensive guide to help me.
This is going to be a series of articles on my exploration of electronics, for those interested in tinkering. I have no idea how long this series is going to be. I think one article per week will be my ideal pace. Over the coming period I am going to write about the following topics.
- SparkFun Inventor’s Kit: this will be my entry point. It is an Arduino based solderless kit with which the user can create around 15 basic electrical devices. It comes with an extensive guide that covers how to set up the wires, resistors and switches and how to program the Arduino to run the projects. As such it is not an robotics kit, but it is more basic than that. Some of the knowledge I might already have but I think to lay a new basic foundation is needed. Over the coming weeks I will write articles on how to create the projects and maybe you will find the kit to be interesting. Note that I consciously avoided kits such as LittleBits. They are just too basic.
- Introduction to Electronics: an online MOOC from Georgia Institute of Technology. I have completed the first week and so I will give an update soon on my opinion.
- Make: Electronics: this is a book from the Make series that covers the basics of electronics. It contains many projects, but the reader is responsible for purchasing the components. The book also covers the science behind electronics and I consider it to be a an excellent second step.
- Solderless Robotics Kit: after I have developed a basic foundation I will yet again revisit robotics. The choice of solderless is to ensure I can continue tinkering without the need to use soldering. At this moment I have my eye on three kits: Makeblock Starter Robot Kit, SumoBot Robot and the C-Control ASURO Robot. The latter does include soldering.
The SparkFun kit
Today I will write about the SparkFun kit.
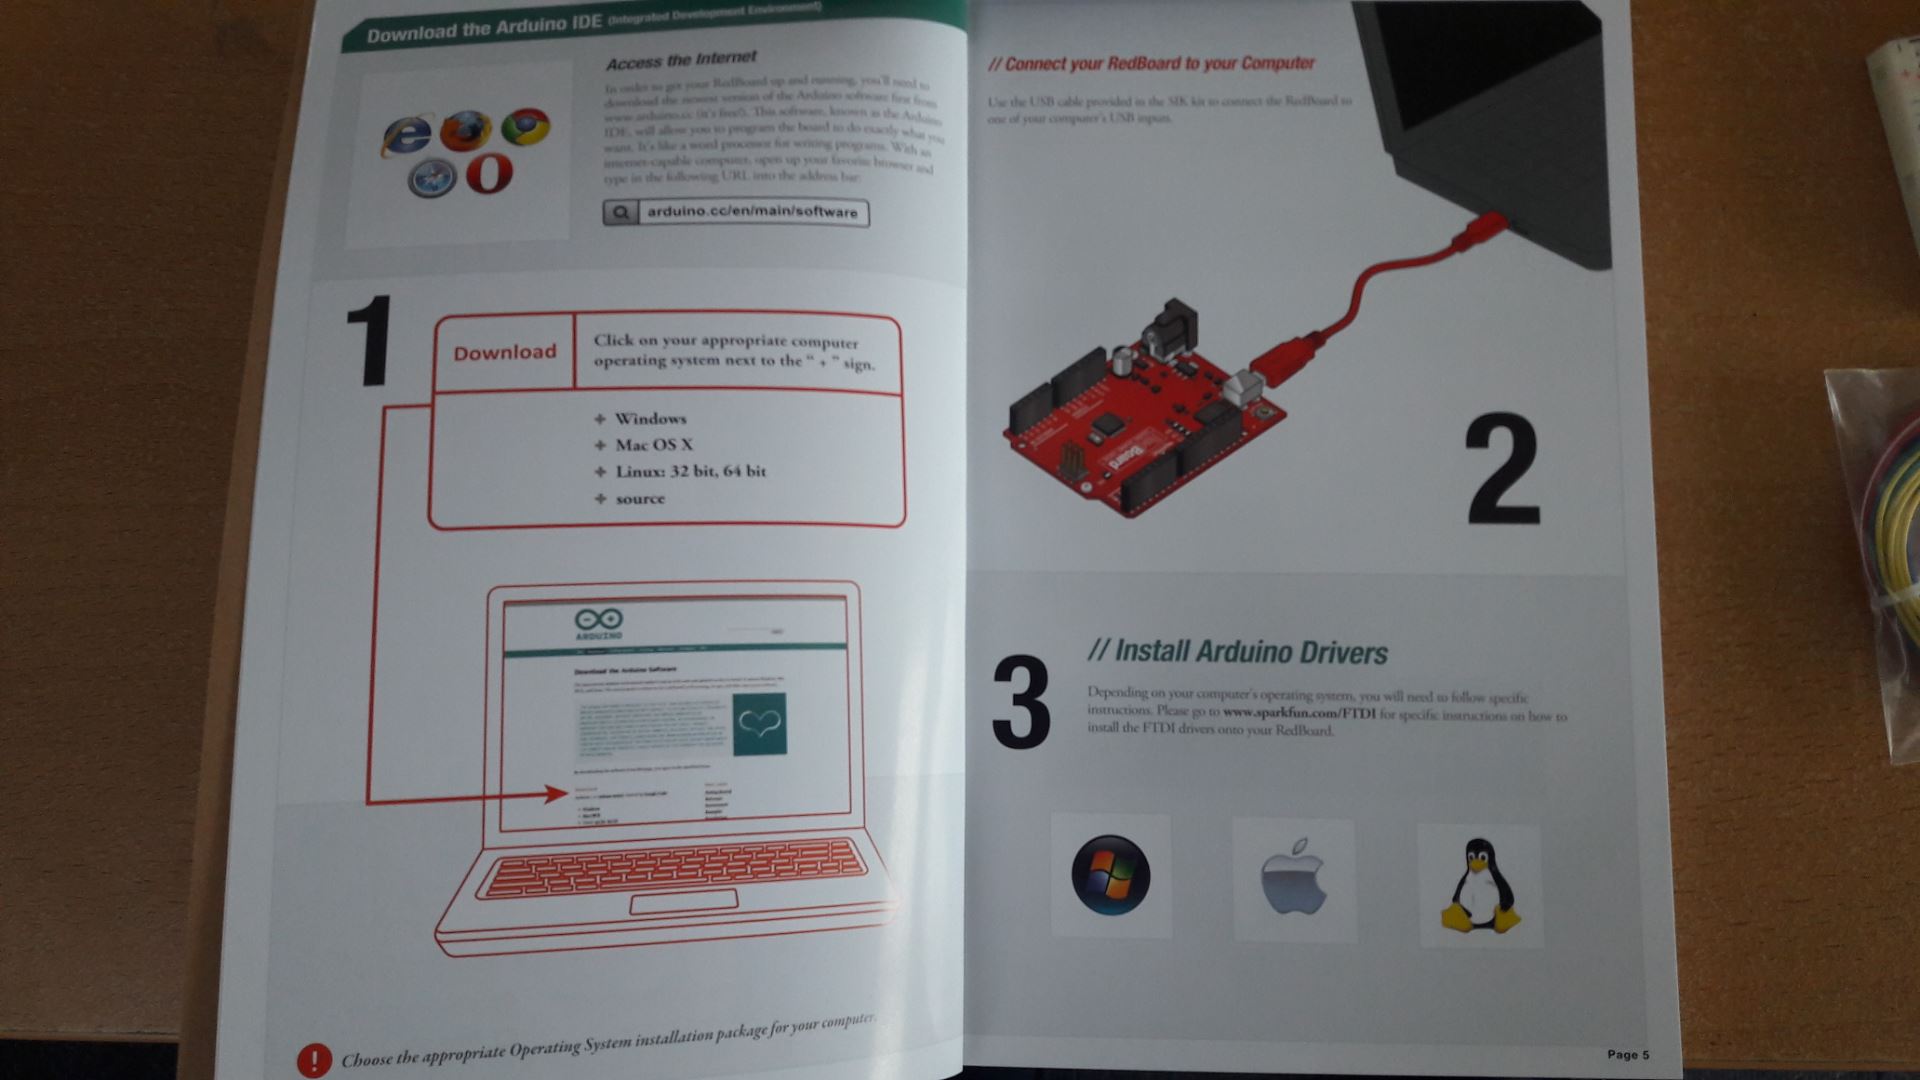
The SparkFun kit comes in a neat plastic box along with an instruction manual. After briefly browsing the guide I can see it explains all a novice needs to know to set up the kit and start working on the projects. My only worry is the apparent lack of explanation on how the components truly work. Looking further ahead however I do see references to past explanations, so I must have browsed over them. As I mentioned the kit is solderless. Tinkerers just need to plug in the components into a bread board which completes the electrical circuit. I do hope there are some spare parts for LEDs because past experience has taught me one incorrect resistor can easily burn those out. The SparkFun kit comes with a handy board in which both the bread board and the Arduino are fastened. This ensures the projects can be easily moved without pulling wires. Tinkerers can control the Arduino with their own computer though a USB cable. An application for Arduino is installed on your computer through which you can upload program to the Arduino which runs the project.
For now I will tinker on myself and I will post an update on my progress soon enough. Enjoy this article series.


More Stories
A Happy New Year from SciFiEmpire
Wishing You A Happy Christmas, From SciFiEmpire.net
Things To Look Forward To in 2022